The Pool Party Dress

I just finished this dress and wore it to a pool party this weekend so I wanted to share it straight away! I bought a dress in this style years ago and I love it and wear it all the time during summer, so of course I’ve had a plan to copy the pattern and make one myself for a while now. On Christmas day the project finally began when, to the amusement of my in-laws, while the kids were building their new Lego projects and constructing their robots, I pulled my own project onto the coffee table where I copied my dress pattern and proceeded to cut out the fabric. The sewing had to wait until I got home.

It’s a pretty simple design with a front placket – I’ll need to add some buttons but haven’t done that yet, a back yoke, little strips around the arm hole for sleeves, pockets and a curved hem. I’m pretty happy with how it turned out and I’m sure it will become a summer staple.

The fabric is a rayon with large banana leaves in blues and greens that I got from Urban Rag in Wynberg. It shouts “SUMMER!” and it was relatively easy to work with and I’m enjoying wearing it.

Given that I drafted the pattern myself off of an existing dress, there were obviously no instructions and I had to research and remind myself on some of the tricks and techniques for the details. This all takes time and brain power and it makes me grateful for the detailed instructions provided on some of the great patterns I’ve been lucky enough to use.

Gotta love pockets in a dress! For the pockets, I remembered that the Mirri Jumpsuit had a very neat and secure pocket installation and so I copied their method. The piece of interfacing helps to add structure to the opening, however I made mine a bit wide so it adds bulk to the hips. So next time I need a narrower strip of interfacing! For the yoke construction I referred to this lovely clear tutorial from Charlotte Kan. I had forgotten that great ‘sausage’ step where everything gets squashed into the yoke pieces and you think “This can’t possibly work” and then you pull it out and “Ta duh!” it’s a perfectly sewn yoke with all the seam edges neatly inside. I love those sewing moments.

For the placket, this video from Taylor Nour helped guide me.

I used this same technique when I modified my son’s school sweatshirt to fit over his enormous head!

I’m very happy to add this fun summery dress to my wardrobe. Long live summer!

Fabric: Black rayon with banana leaf prints in blues and greens. From Union Rag

Pattern: Self drafted pattern off a store bought dress of mine.

Alterations: I tried to stick to the original but my hem is a bit shorter, the placket and sleeves are a bit wider and I haven’t added buttons…yet.

Do it again? I could see myself making another one of these in a different fun fabric.

Edith gets a makeover

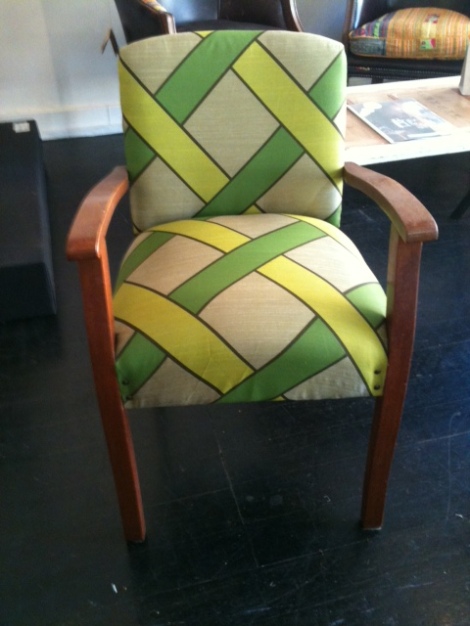
Back in 2014 I reupholstered and gave second life to a “Gossip chair” that I found on the side of the road. I named her Edith and she became a much loved piece of furniture in our house. Time and use took its toll on the green and yellow vintage silk and it was time for a makeover.

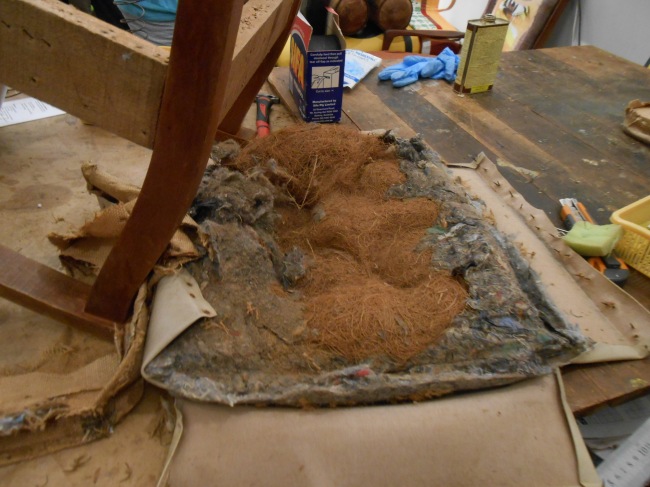
I was using Edith as my work-from-home desk chair and, together with kitty claws, she was really looking quite sad. The first step in the makeover was to carefully remove upholstery tacks and hundreds of staples so that I could use the fabric pieces as templates and leave the wooden frame (mostly) free of sharp metal pieces. My 5 year old was a very diligent helper pulling out many a staple with his trusty pliers.

The structure of the chair is still strong and I did my best to keep the underlying layers intact. We did have a minor issue of breaking the wooden dowel holding the armrest in place. Thankfully my handy hubby helped fix that at the end of reconstruction.

After removing all the fabric pieces, I laid them out on my new fabric to choose the correct patterns and carefully cut the shapes out. I use the term ‘carefully’ somewhat loosely because, unlike sewing projects, there is quite a lot of tweaking that happens during the construction as you pull and secure the fabric in place. The new fabric is a beautiful piece of Lula Fabric’s Suzani in Red which I have had in my stash for years just waiting for the right project. I love this fabric. It is 100% cotton in rich colours and all locally designed and printed. I do worry that it might fade or look worn quite quickly but I think it’s worth the risk.
Finally with all the deconstruction and planning done, we could start with the piece by piece installation. Again my 5 year old was very keen to help with the staple gunning! I put it together slowly: setting, pulling, stapling, trimming, folding and tweaking and stapling some more. I couldn’t find new upholstery tacks so had to reuse some that weren’t destroyed in the deconstruction. I would prefer more down the back of the chair but for now it does the job. One particularly South African challenge was that I needed to plan my work around loadshedding (planned power cuts) so that I could have the light I needed or take advantage of manual work (pulling out staples) when I couldn’t do computer (real) work!

This project has been a long time in the making and I’m so excited with the output! Edith is once again smiling and so am I. Now I just have to keep dirty kids and scratchy cats off the masterpiece!

Roman blind for Baby Room

As part of my pre-baby nesting (and converting our walk-in closet into a baby room) way back in 2017, I decided to bring a piece of the jungle inside with this palm frond blind.  The idea was to make a Roman blind with a beautiful piece of Lula Fabrics palm frond fabric that I’ve had for ages and by using a piece of blackout lining from another blind rescue, I could create a dark haven for littlest one.

There are are a bunch of tutorials out there for Roman blinds and I can’t actually find the one that I use. The main decision was whether I go for a ‘simple’ design where the rod pockets are created with the fabric itself. Because I wanted to keep the full image of the palm fronds on front I opted for the alternative which is to create rod pockets with a separate tube – in my case bias binding.

I used a wooden rail that I covered and stapled Velcro to – the other side of the Velcro on the top of the blind. I bought plastic rods, chord and ringlets from a local curtain shop. One of the trickiest part was planning it out to make sure I had the correct spacing between rods and that when pulled up it would hang correctly. I sewed the rod pockets onto the lining first and then sewed the front piece onto the lining over the same stitching, being careful not to sew over the pocket or make it too narrow.

I hand stitched the rings in with blue (?!) upholstery yarn I had from a previous project. To avoid thick hems on the edges I overlooked the edges and just turned it over once.

The entire project definitely took longer than the hour promised by some of the tutorials but I really like how it turned out and it gives me such joy to use it.  Even though I enjoyed this project I must confess that since then, I have had two other blinds made by someone else and there is definitely something to be said for sharing the load!

The Transformation of Edith, the Gossip chair

For the month of May, besides wearing Me-Made items and trying to finish up some sewing projects, I have been taking an evening class on furniture rehabiliation and upholstery.  Our teacher, the wildly talented and passionate Maaike of Maaike Furniture Resurrection, fearlessly led us through unchartered (for me) territory of ‘real’ furniture upholstery. And so a dream was realised and Edith was given a second life.

Image

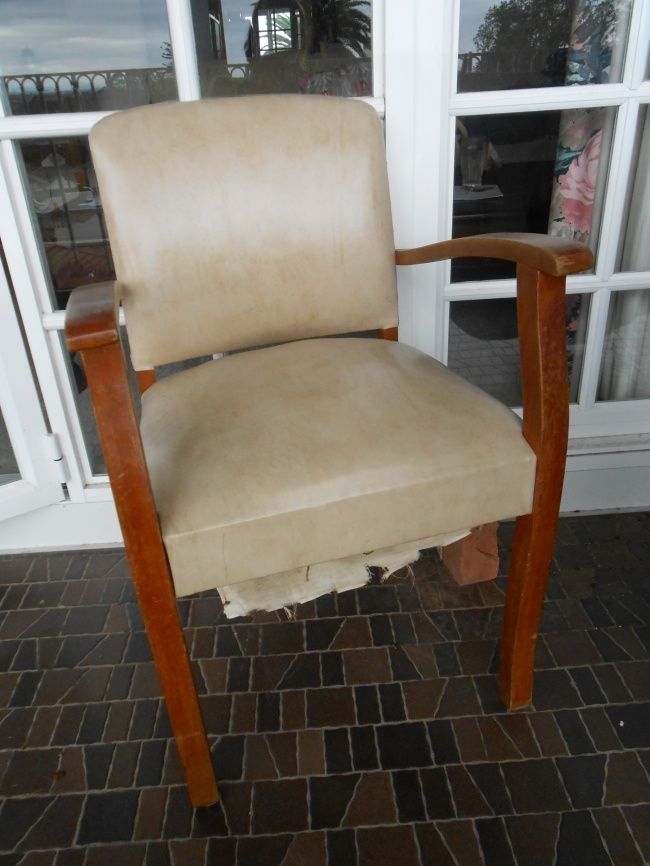
I met Edith when she was in a very dark place in her life.  She was abandoned on the side of the street, her vinyl skin faded, and her inards falling out. I could see she had potential and with a bit of love could be restored to her former glory.  So with an awkward walk home, carrying a decaying Occasional chair, I saved Edith from Furniture Death Row and the fatal crunch of the Monday morning rubbish truck jaws.

Image

Dear Husband was not highly impressed to have his precious garage space taken up with a dust bucket so Edith was relegated to the balcony to await the furniture resurrection workshop.

Image

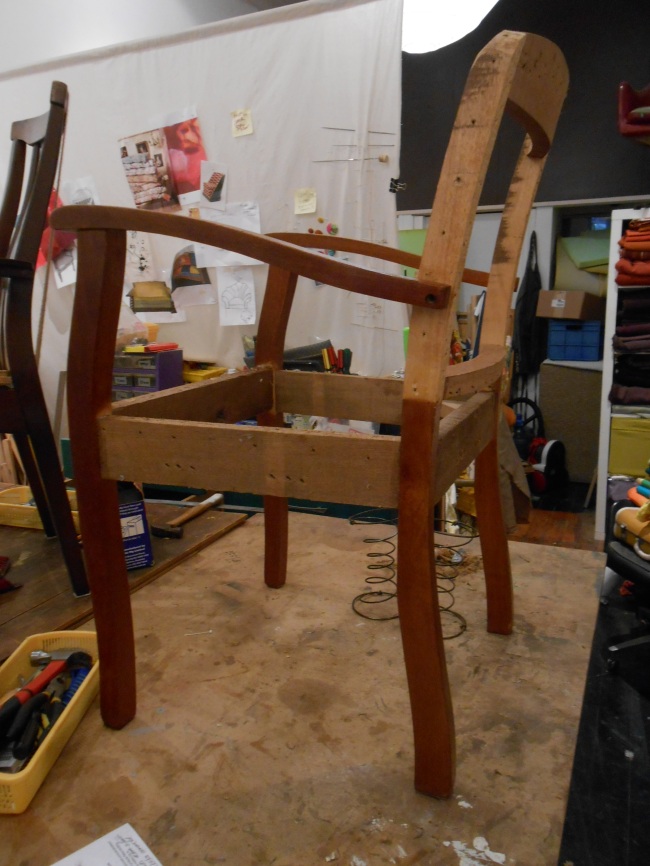
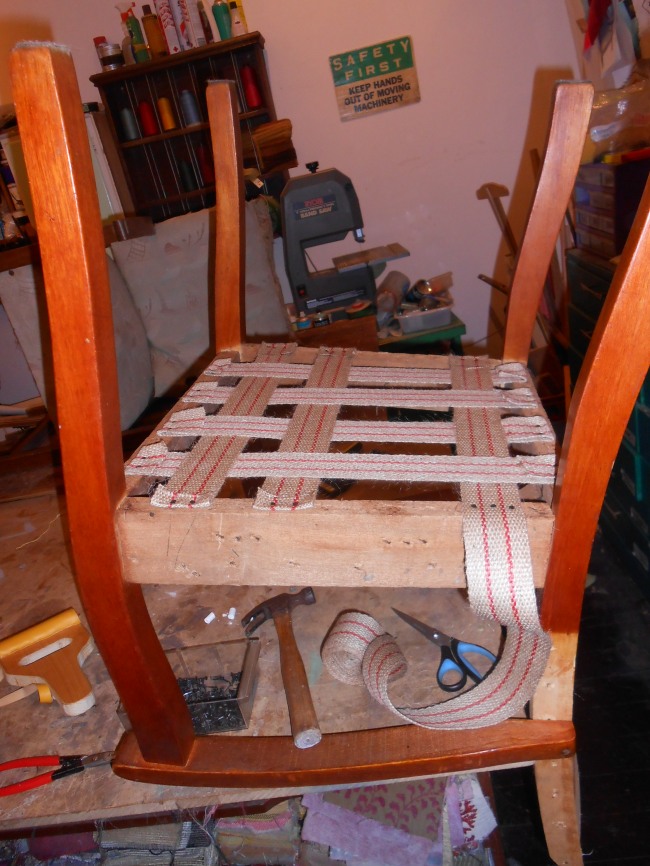
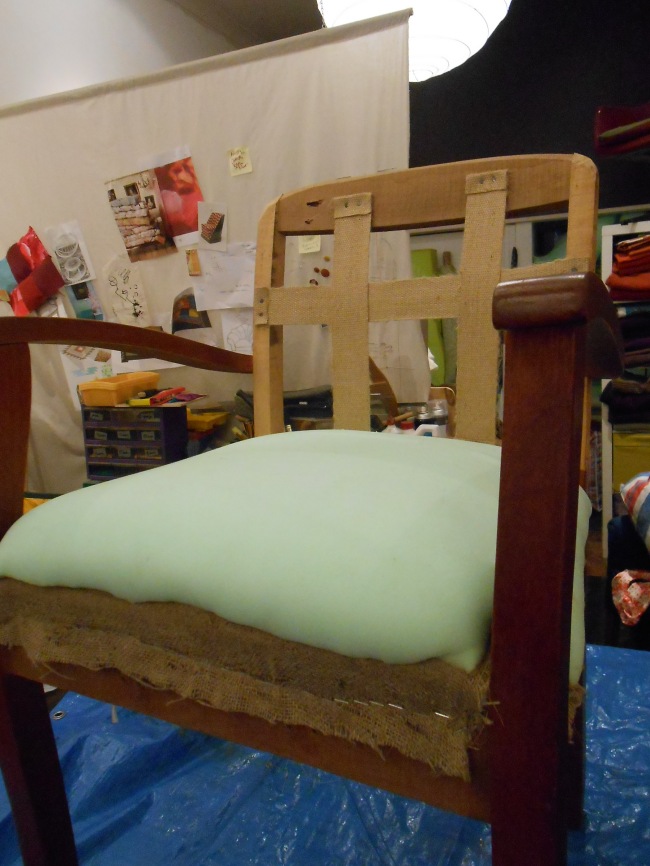
And so began the journey of my Thursday evening escapades at Maaike’s studio in Darlinghurst with friend, Rochelle, forgotten dinners, fun music, broken nails, sore hands, dusty clothes and huge smiles and an enormous sense of satisfaction.  The first step was to strip Edith right down to her naked self.  Every tack and staple had to come out.  All her guts and rotten springs were removed and she was left as bare bones and vulnerable – which she didn’t enjoy. But it gave us a chance to envisage the new Edith.Image

I then set up the structure of webbing pulled tight (with nifty little jigs) and nailed in with tacks.

Image

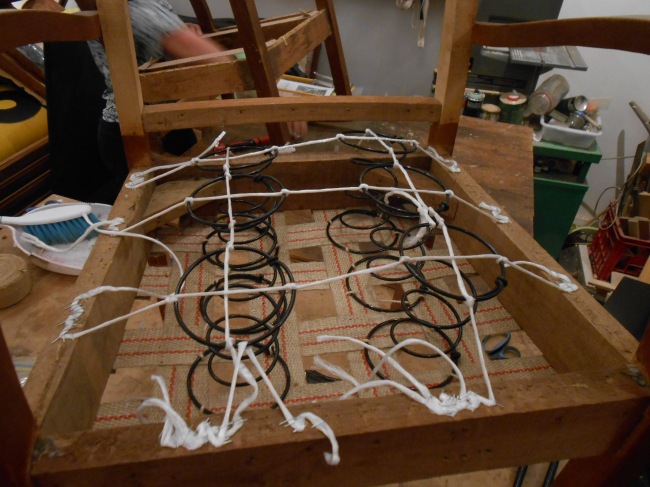
New springs were added and painstakingly stitched onto the webbing and knotted and tied down with string that was stapled to the frame.  This is to make sure the springs don’t shift and only ever spring up and down rather than warping forwards or sideways.

Image

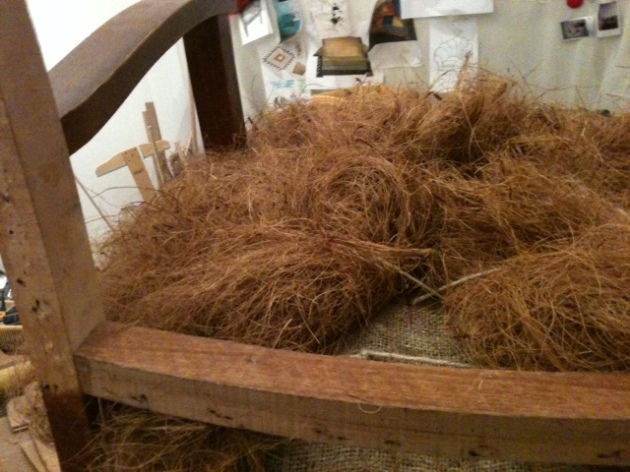
A layer of hesian went over the springs and more stitching and knotting to hold them in place.  Then I stitched in some ‘bridles’ which were stuffed with teased coconut husk.  This was a seriously dusty exercise and had me sneezing all evening.  And Edith suddenly looked all wild and scary and I had a hard some seeing how she’d get her elegance back.

Image

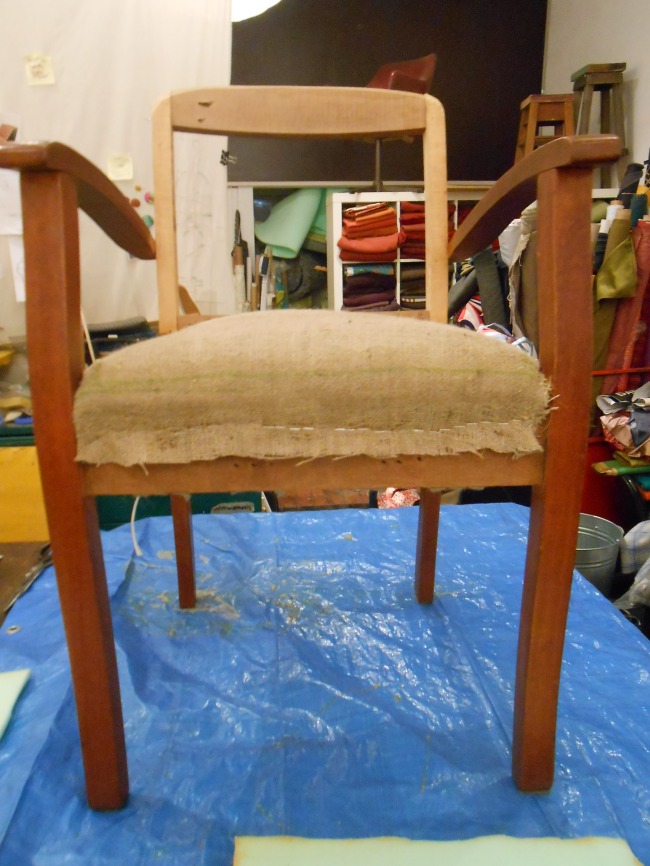
But another layer of hesian plus a clever roll on the front edge under the hesian and she started looking like a chair.

Image

Two layers of foam came next  – one on the top, and a thinner one to the frame edge. And then a layer of flock to smooth out some of the edges.

Image

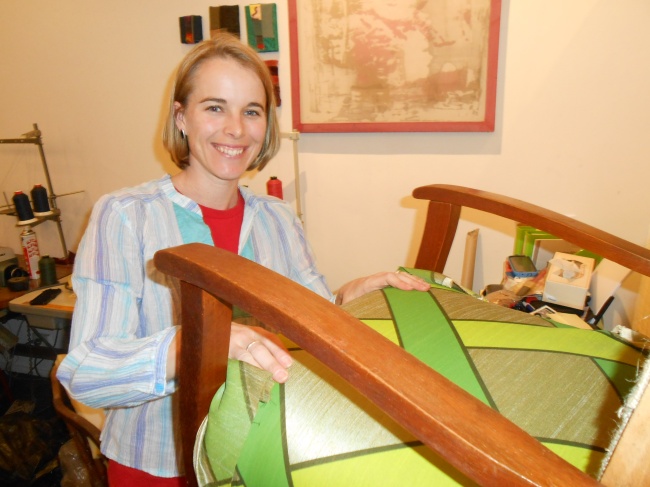
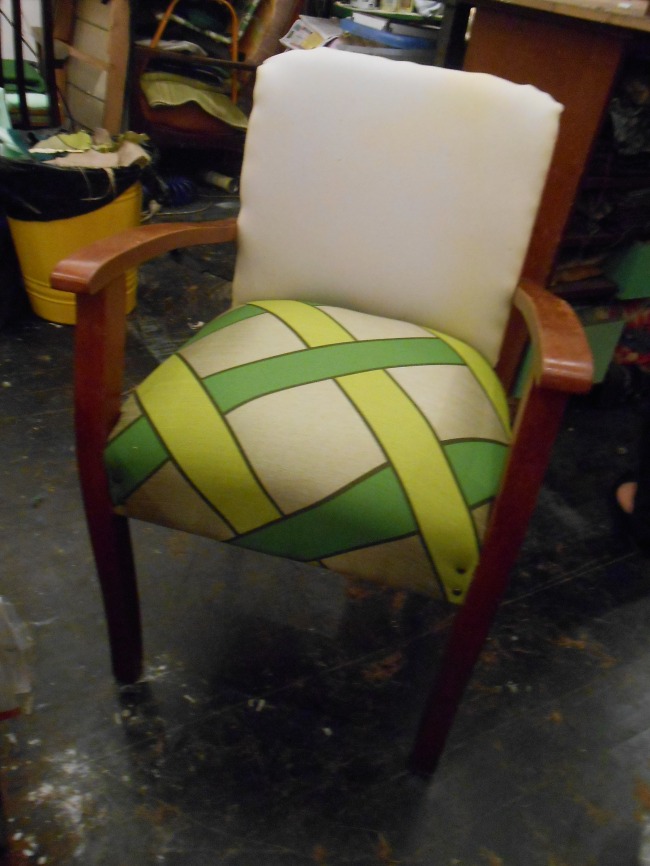
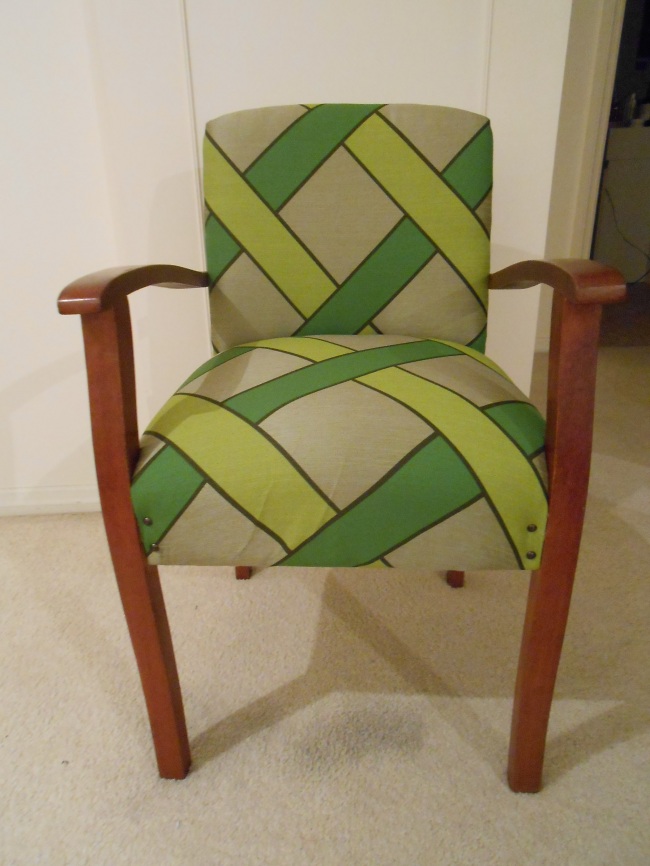
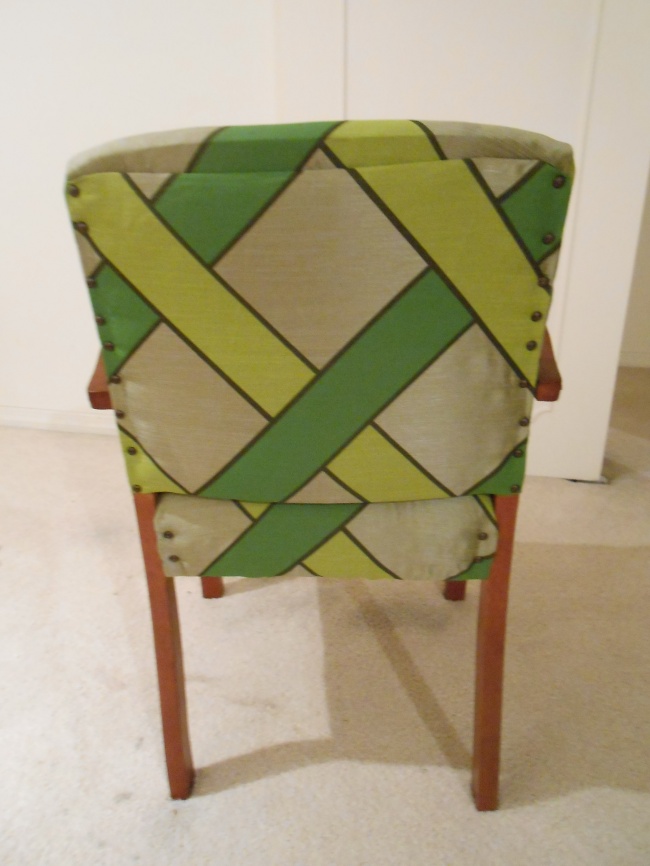
And finally the top fabric goes on.  I chose a gorgeous vintage upholstery fabric from Maaike’s stash.  I think it’s of silk (maybe polyeser given it’s 70s history) with a metallic sheen and payful green geometric shapes.  I LOVE this fabric but I’m not going to lie it was NOT the easiest to work with.  It doesn’t always sit well, I had to be careful of matching shapes and every now and then it decided to rip (the most terrifying sound ever).  But we managed to hide most transgressions and it was well worth the effort.

Image

Bottom done. Back getting it’s foam over webbing and hesian.

Image

Nearly there…

Image

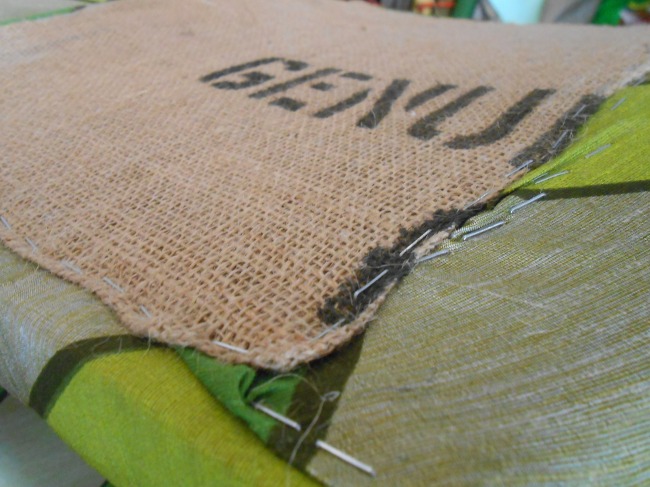
A bit of coffee sacking for the back, more flock and the final cover piece.Image

Ta Daaahhhh.  She’s done!!  One beautifully elegant and graceful Edith and one Very happy Mary :-).  Edith now has pride of place in our home although no sweaty cyclists are allowed near her.

Image

Image

Image

Edith is already attracting attention on the World Wide Web on Maaike’s Facebook page.  And I’m looking forward to a long happy relationship.  When I showed a picture of the completed Edith to a friend she said “ooh…it’s a Gossip chair!  You sit with your friend, sipping your tea and gossiping.”  Well I only have one Edith (for now)  so she and I will be doing the gossiping 🙂

Thank you Maaike for a fabulous workshop and thanks, Rochelle for joining me on the journey.  What’s next?


Ms C’s Bird Chair

DSCN1085

Friends of ours recently moved into a beautiful flat near us and did a fantastic job kitting it out with an ecclectic mix of fabulous pieces gathered from from the wonderful world of eBay. This exercise included the purchase of a piano for which the cost of moving and tuning it was more than the piano itself – but how fun to have a piano in your home?!  Some of the pieces of furniture were bought for their innate potential rather than the faded ‘granny’ fabric that first met the eye.  And this is where I came in.

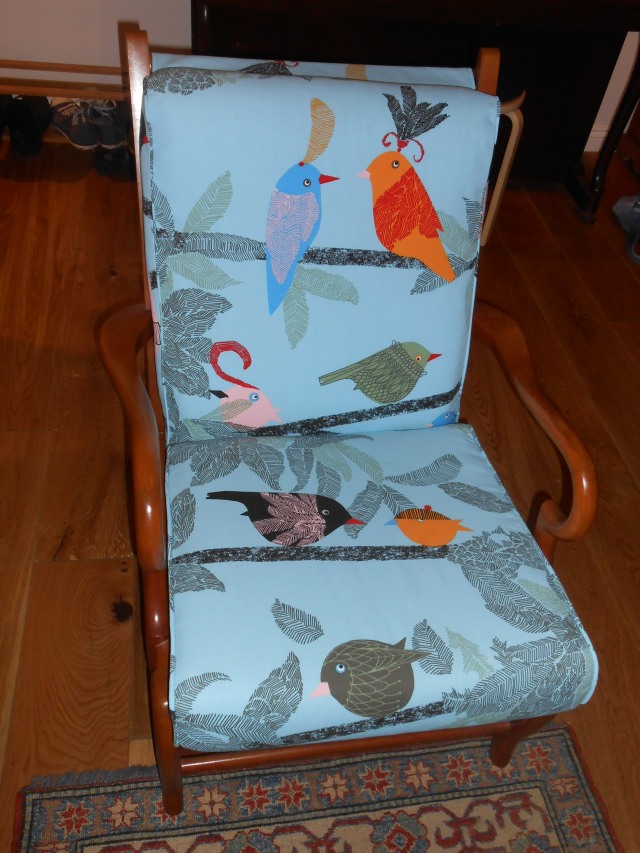
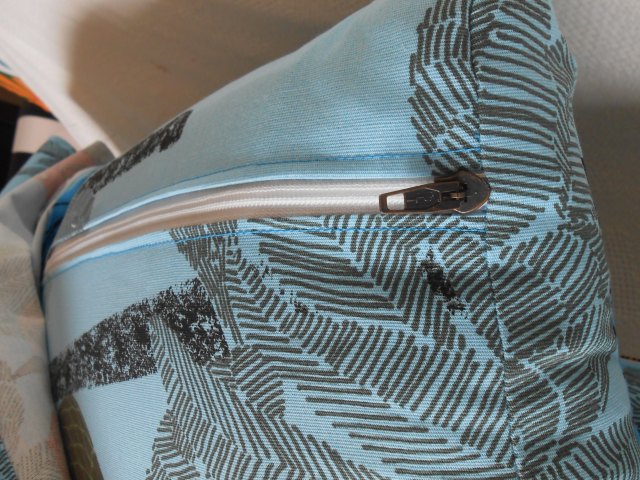
I was asked to help with the home-making project by covering the cushions for one of the chairs in a fun bird fabric that Ms C had found at Ikea. Of course I was delighted at being asked and embraced the challenge. The first task was to pull apart the old covers to make a pattern for the new cushions.  I also managed to salvage the zip and had considered saving the piping cord but this was rather damaged and I found that buying piping cord was a pretty simple exercise:  You can get varying thicknesses from Lincraft.

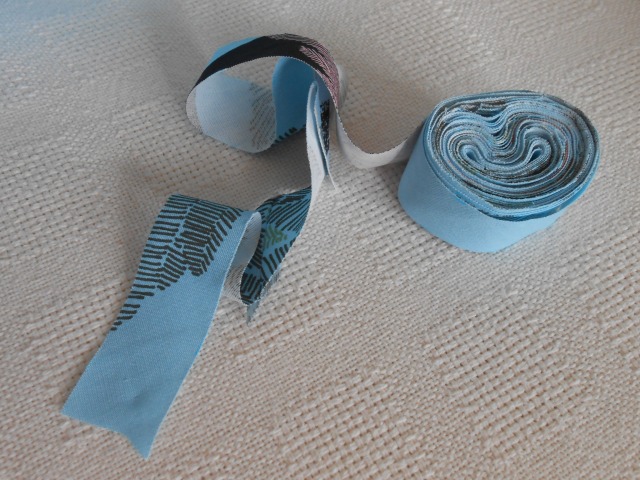
DSCN1077I painstakingly made meters and meters of bias binding to turn into piping for the edges of the cushions.  And carefully laid and cut out the pattern pieces to have a good selection of birds in the right places on the cushions.

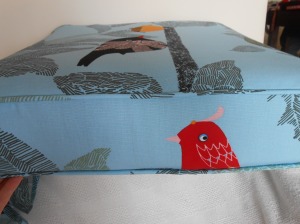
DSCN1080Although I had bought the correct needles, piping foot and extra strong upholstery thread (I was advised to only use it as the top thread – keep the bobbin with normal weight thread), my machine was NOT enjoying sewing through the piping and the two layers of fabric to construct the cushion. I tried many different iterations but I think I may have been asking a bit much from my dear old lady sewing machine – she’s probably older than I am so deserves some respect.

DSCN1076  DSCN1075

I ended up putting the top cushion together without the piping, while for some reason the bottom cushion worked fine with the piping. But when I took them over and saw the cushions together on the chair, I wasn’t happy. They needed piping for that professional finish.

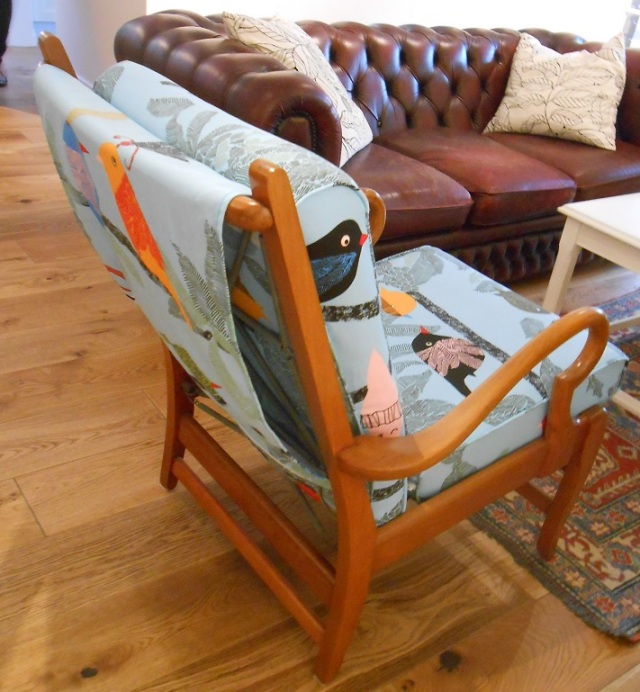
The key, I discovered, was to get the right zipper foot.  So I searched the online and offline shops, bought two incorrect feet and finally found a zip foot that worked. And eventually, I got my the piping finish I wanted!  I was pretty happy with how the cushions turned out in the end and even happier at seeing how proud Ms C was of her newly refurbished chair in her beautiful apartment.

Chair_cropped

DSCN1074Do you have any tips for sewing upholstery on a domestic machine? At the moment I feel like I’m just trying things out by trial and error.